Showing posts with label Appetizer. Show all posts

Friday, January 16, 2015

Hawaiian Turkey Sliders

This next recipe is a hit as an appetizer, late night snack or even a full blown meal. I've made this recipe several times and have always been asked how to make them. The original recipe actually calls for ham, but those of you that know me, know I don't eat that so we switched it up to use honey turkey and I've never gotten a complaint. You could easily do the recipe all ham though, or a little bit of both. This recipe just calls for turkey but switch it up however you like. One more disclaimer, the recipe below is for a full recipe but the pictures are only for half since we didn't need 12 sandwiches for just the two of us. If you want to make only six, just halve the written recipe below.

What you need for the sliders:
1 package of 12 Hawaiian rolls
1 pound of honey turkey (or 1/2lb turkey, 1/2lb ham)
10 slices of swiss cheese
1 stick of butter
1/2 of an onion, chopped
2 tablespoons dijon mustard
2 tablespoons Worcestershire sauce


To make the sandwiches:
1. Pre-heat your oven to 350 degrees.
2. First, I like to make the sauce that goes on top of the sandwiches. Melt one stick of butter, add the onion, mustard and Worcestershire sauce. Cook until bubbly and hot.

3. Slice your Hawaiian rolls in half the long way. Place the bottoms of the rolls in a 9x13 pan. Put a little of the butter/onion sauce (maybe about a 1/3) on the rolls.
4. Arrange meat and cheese on top. Place tops of rolls over the meat and cheese. Top with the remaining butter mixture.
5. Bake in oven for about 20-30 minutes until cheese is melted and sandwiches are warmed through. 
ENJOY!!


Tuesday, July 22, 2014

Buffalo Chicken Dip

Here's a recipe that I should have posted a LONG time ago! It's always a hit at almost any get together and really easy to make. I suggest this appetizer almost as frequently as my spinach artichoke dip! You can mix and match cheeses and use whatever you like for dipping- celery sticks, pita chips, even put it on a croissant!

BUFFALO CHICKEN DIP

What you need for the dip:
2 boneless, skinless chicken breasts; cooked and shredded
1 package (8oz) cream cheese, softened
1/2 cup Frank's Red Hot Sauce (or whatever spicy wing sauce you like)
1/2 cup ranch dressing (you could also use blue cheese if you prefer)
1 cup of shredded cheese (I usually use half mozzarella, half cheddar)

To make the dip:
1. Pre-heat oven to 350 degrees.
2. Mix all ingredients together in a bowl.
3. Transfer to a greased baking dish.
4. Bake for 25-30 minutes until hot and bubbly.
5. Serve with your favorite dippers.
Tip- I usually transfer the dip to a mini crock-pot to keep the dip warm while you eat and ENJOY!

Sunday, March 23, 2014

Baked Brie

I absolutely LOVE brie cheese. It's got a great, mild flavor and it's very smooth and creamy...bake it up with a berry sauce on top and it's to die for!! This is a super easy recipe you can throw together in minutes and it's sure to impress any crowd! Sorry I didn't take a lot of pictures but I promise it's easy enough that you won't need step by step pics. Give it a try for your next get together!

BAKED BRIE WITH RASPBERRY SAUCE

What you need for the baked brie:
1 large wheel of brie (or 2 small- I always get mine at Sam's Club so I use one large ~16oz)
12-14oz of raspberries (really any berry would work, I like how the raspberries break down so if you use strawberries, you may want to cut them down a little)
3/4 cup brown sugar
1/3 cup water
1/4tsp dried mustard
1/4 tsp ground allspice
1/4tsp ground cloves
1/4tsp ground ginger
Crackers or apple slices for dipping

To make the baked brie:
1. Preheat your oven to 325 degrees F. Line a pie pan with foil or parchment paper.
2. Mix the berries, water and spices in a large sauce pan.
3. Turn them on medium heat and warm until the berries burst- about 15 minutes.

4. Cut the skins off of the top of the brie (I do the tops and sides but leave the bottom)
5. Pour berry mixture on top of the brie and bake for about 10-12 minutes, until the cheese is hot and melty.
6. Serve with crackers or apple slices.

ENJOY!

Monday, February 18, 2013

Spinach Artichoke Dip

Hello and Happy Monday! I meant to post this over the weekend but I wasn't feeling quite as on top of my game as I would have liked. I think all the travel last week got to me more than I had hoped. Oh well, I had some time to recover and am feeling better- ready for another busy week back in the office. I have made this dip probably a dozen times and it's a HUGE hit- everyone always asks for the recipe so I figured it was probably about time to blog it. I originally had this at my friends Krista's house and asked for the recipe right away...over time I've adapted it a bit (the garlic, Alfredo sauce and types of cheese) but have pretty much come back to the same variation listed below. Please give this a try- it's SO easy and a definite crowd-pleaser. You can even prepare this a day or two in advance, pop it in the fridge and then just pull it out to bake when you're ready.

What you need for the dip:
2 cloves of garlic (I used one big one)
1 (10 oz) package of frozen chopped spinach (thawed)
1 (14 oz) can of quartered artichokes, drained
10 oz of Alfredo sauce (I usually use the Classico light as I don't think you can tell and it saves a few calories)
1/2 of an 8 oz package of cream cheese (softened)
1 heaping cup shredded mozzarella cheese (I even go up to 1.5 sometimes!)
1/2 cup shredded Parmesan cheese (plus a little extra for topping)


To make the dip:
1. Preheat your oven to 350 degrees F. Spray a small casserole dish with non stick cooking spray.
2.Place garlic in a small piece of foil- leave skins in tact. Bake in the preheated oven 15-20 minutes, until soft. 
3. In the meantime, drain your artichokes and chop into bite size pieces.
4. Now, spend some time draining your thawed spinach. This can take a while but be patient because you don't want watery spinach in your dip. I use paper towels and push down several times into a colander until I feel it's pretty dry.
5. Once your garlic is roasted, remove from heat and let cool. When it's cool enough to touch, squeeze softened garlic from skins into the bottom of your casserole dish. Spread it around with the back of a spoon. 
6. In a large bowl, mix your spinach, artichoke hearts, Alfredo sauce, mozzarella cheese, Parmesan cheese, and cream cheese. 
All mixed up!
7. Transfer to your casserole dish and top with a little extra Parmesan cheese.
8. Bake in the preheated oven for 30-40 minutes, or until cheeses are melted and bubbly. Serve warm with tortilla or pita chips! I often transfer mine into a small crock pot so we can keep it warm while we munch!
Before baking...
and after!

ENJOY!


Sunday, December 9, 2012

Jalapeño Poppers!!

Hi Everyone! Welcome to Mexican day in the Hlavek household! We love making fajitas here over the weekend...nothing like grilling up some already marinated flank steak and chicken, making rice, queso and peppers with onions. Maybe even some guacamole if we're ambitious. Yum! Today we tried an appetizer to our regular feast- jalapeño poppers! And boy were this little bad boys HOT! Don't get me wrong, they were amazing but be prepared for a little extra heat with these puppies. I saw this recipe while watching the cooking channel the other day and was inspired. The only real change-up was that we made a lot more than the recipe called for and I switched the cheeses. Do give these a shot during your next get-together...the recipe is super easy to throw together and I know you'll impress your guests!

What you need for the poppers:
6-7 fresh jalapeños
1 cup shredded cheese (we used a variety of white cheddar cheese, sharp cheddar cheese and marbled cheddar cheese- if you have the time, buy the blocks and shred it up yourself...it melts and oozes so much better)
1 can of beer
1 egg
1 cup of flour

To make the poppers:
1. Turn on your fryer and heat oil to about 350-375 degrees. If you don't have a deep fryer, you can use a shallow pan filled with vegetable or peanut oil. Turn it on early so you can get your oil to temperature.
2. Slice your jalapeños down the center/side of the pepper. Clean out all of the seeds (and I mean ALL the seeds- we left a 'couple' thinking that would add some spice and we can barely breathe right now!)

3. Shred your cheese or measure out 1 cup from your bag of shredded.

4. Stuff the peppers really full of cheese...keep shoving it in there until no more can fit!

5. Make your batter by mixing the 1 cup of flour with half of a beer (about 6oz) and one egg. Whisk it together in a bowl until there are no more lumps.
6. Dip your cheese filled peppers into the batter by holding the top of the pepper. Twirl it around until the pepper is completely coated. 

7. Drop your stuffed and battered jalapeño peppers into the hot oil. Let them go about 5-7 minutes until brown, then flip for about another 3 minutes. Pull them out and place on a paper towel to allow excess oil to drip off.

8. They are both temp hot and heat hot so be careful before you...

ENJOY!! 

Sunday, November 11, 2012

Goat Cheese Baguettes


Hi Everyone! Hope your November has been off to a great start! I have a fun new appetizer recipe to share with you! I would be honored if you’d give this one a try at your Thanksgiving feast this year. Now I know many of you may be skeptical of the goat cheese but I promise that the other ingredients really tone down the flavor and these little guys are just out of this world!

This is an adaptation of a recipe that Danny and I learned at Adelinos Old World Kitchen here in Lafayette, IN. They offer cooking classes during the fall-spring and Danny bought me a couple for Christmas last year (not that I need any help, mind you! Just to ‘broaden my horizons’ so to speak. ;) When the class starts, there is a list of recipes that will be made that evening; we go around the room and pick one that sounds appealing and/or interesting to us. Danny was last and no one wanted this little bugger- my guess is because of the goat cheese! However, at the end of the class, we all had to go around the room and talk about the recipes we liked; this one was by far the class favorite and everyone said they couldn’t believe how much they enjoyed it!  As an added bonus, I’ve thrown in a homemade candied walnut recipe that you can use with this. I think it goes a long way so if you have the time to make them, do it! This recipe will not only impress your guests but develop their palettes along the way!

GOAT CHEESE BAGUETTES

What you need for the goat cheese baguettes:
French Baguette (you can make your own but I used store bought- take and bake variety)
1 cup goat cheese
~1/2 cup diced figs (this is about 7-9 whole figs)
~1/2 cup candied walnuts (recipe below- or you can buy them)
Honey

To make the goat cheese baguettes:
1. If you use the take and bake variety of the French baguette, go ahead and cook it to packaged directions. When it’s done, take it out and let cool for about 10 minutes. You can make the goat cheese mixture in the meantime.
2. Measure out about 1 cup of goat cheese and crumble it in a bowl.
3. Chop up your dates and walnuts, then measure out about 1/2 cup of each.   
 Add to the goat cheese bowl.
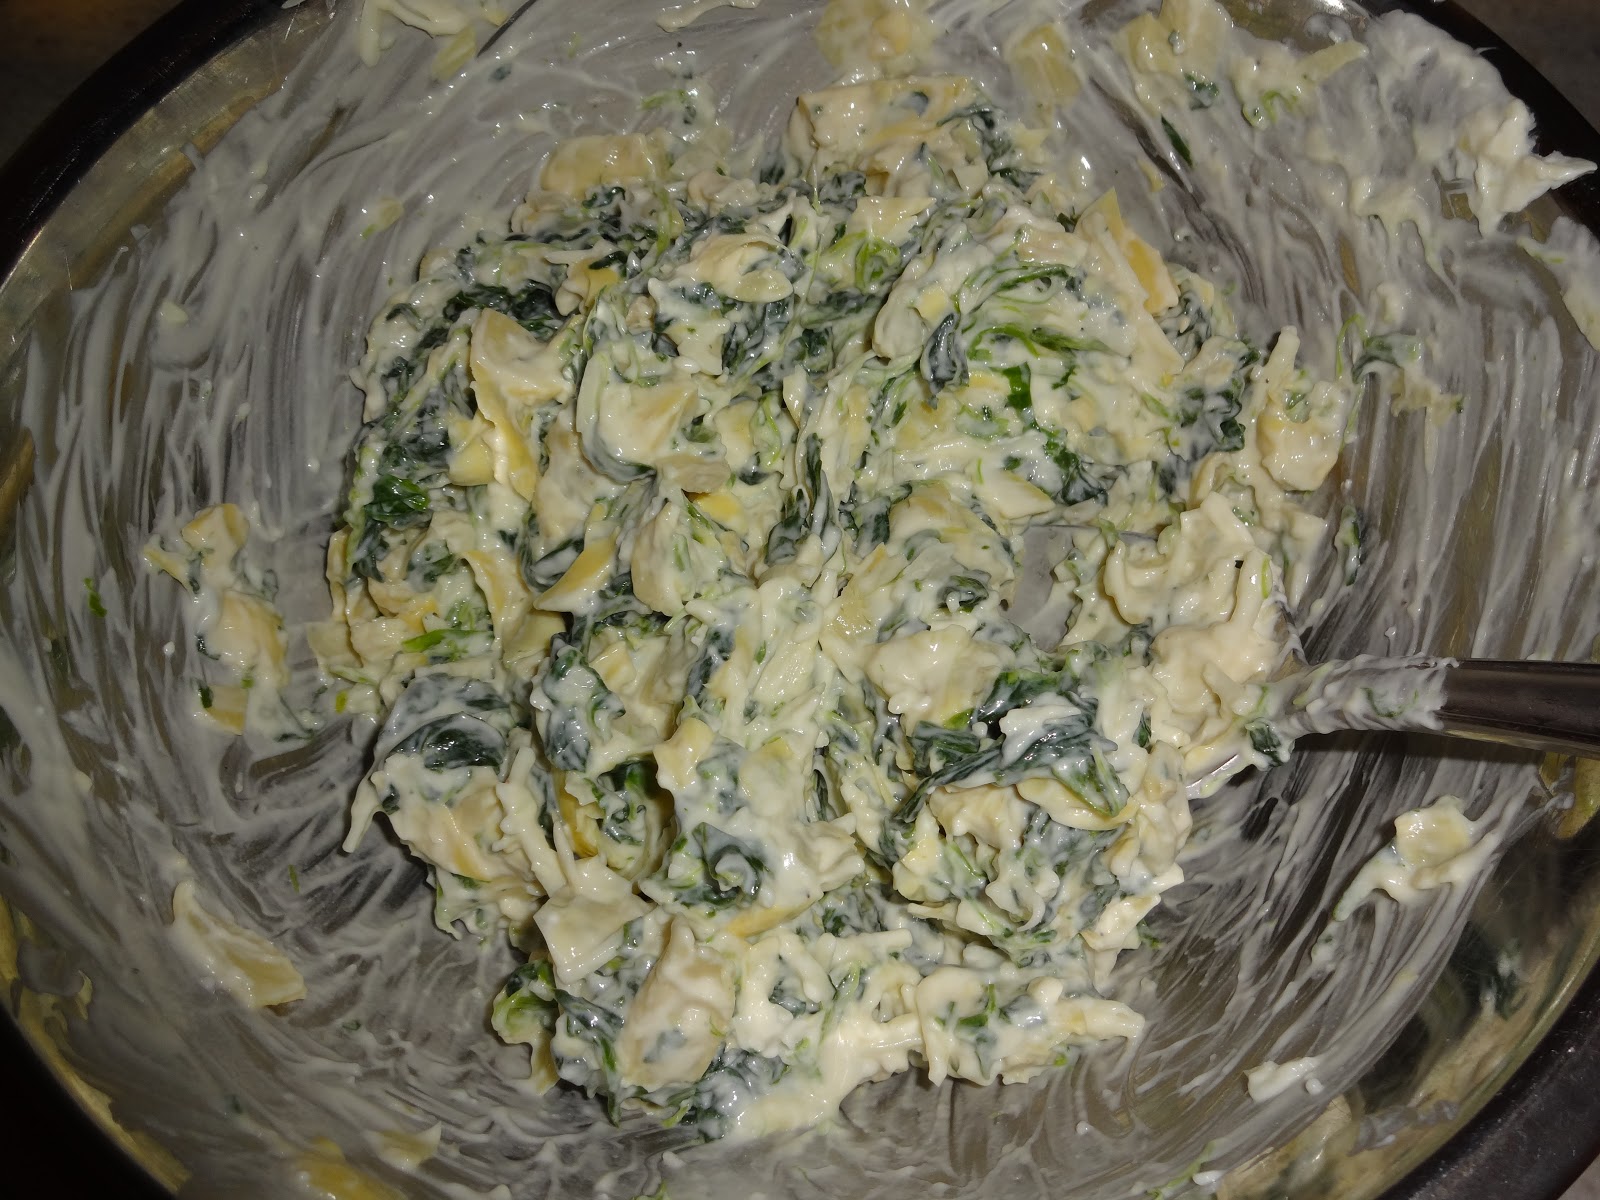
I know it looks strange but it tastes great!

4. Mix it up with a spoon and then pop it in the fridge while you go back to work on your bread.
5. Slice your French bread into 1-inch thick pieces. Place evenly on a cookie sheet and bake for 5-7 minutes at 350 degrees until the tops get nice and golden and crusty.
6. Take your goat cheese mixture out of the fridge and evenly place a scoop on top of your crusty bread.  (Side note, this mixture can be made up to a week ahead of time as long as you keep it covered in the fridge…makes this a really easy appetizer to throw together at the last minute.)
7. Place slices back in the oven and bake for another 7-9 minutes until the mixture is nice and hot.
8. As soon as you pull the bread out of the oven, drizzle each slice with a little bit of honey. 


I swear- you are not going to believe how amazing this is!!

ENJOY!

BONUS: CANDIED WALNUTS

What you need for the walnuts:
(Note, you don’t need this many for the recipe above but you can keep the extras to snack on-they are good!)
1/2 cup sugar
1 1/2 cups raw walnut halves

To make the walnuts:
1. Preheat your oven to 350°F. Lay walnuts out on a baking sheet in a single layer on parchment paper (if you have it). Bake for 5 minutes. As soon as you can smell them- they’re done! If not quite toasted enough, toast for 1 or 2 more minutes. Be careful not to burn-this can happen pretty easily!
2. Remove from oven and let cool.
3. Pour sugar into a medium saucepan. (Have your walnuts nearby, ready to quickly add to the pan at the right time.)
4. Cook sugar on medium heat, stirring with a wooden spoon as soon as the sugar begins to melt. 
Not quite done...

Keep stirring until all the sugar has melted and the color is a medium amber.
Perfect!

5. As soon as sugar is melted and the color is a medium amber, add the walnuts to the pan, quickly stirring and coating each piece with the sugar mixture.

6. Once the walnuts are coated with the sugar mixture, spread them out on a rimmed baking sheet, lined with parchment paper (you can use the piece you just used from toasting).
7. Use two forks to separate the walnuts from each other, working quickly. (It’s okay if they don’t all separate- you can chop them up later!)
8. Let cool completely.

Yummy!!

Sunday, November 4, 2012

Buffalo Meatballs

Good Afternoon and Happy Football Sunday!! It's time for another savory snack! In honor of a sports afternoon in this house (both football and NASCAR are on!), we're doing a twist on a fan favorite: Buffalo Balls! It's the spicy and tangy-ness of a wing, but in meatball form! Yum! This recipe is adapted from one I found on Pinterest and I'm super excited to give them a try!

What you need for the meatballs:
1 1/4 pound ground turkey
3 oz cream cheese
2 eggs
1/4 C chopped celery (diced finely)
1/4 C crumbled blue cheese
2-3 T plain bread crumbs

What you need for the sauce:
1 stick of butter (melted)
1 C buffalo sauce (I used Frank's)


1. Combine all of the meatball ingredients except the breadcrumbs in a medium bowl. The mix will be sticky and gooey so add some plain crumbs to dry out the mixture a bit. Ours used about 2-3 tablespoons. (I am sorry but I didn't have my camera this morning and didn't have pictures of this process.) 
2. Refrigerate the balls for about 20 minutes to firm up (the cream cheese can make them a bit fragile). 
3. Meanwhile, line a cookie sheet with parchment paper and preheat the oven to 350 degrees. 
4. Pull your mixture from the fridge. Form into about 1 inch balls- careful not to make them too big- and placed on prepared cookie sheet.
5. Bake for 10 minutes; take them out and flip. Bake for another 12-14 minutes until meatballs are cooked through (I always cut one in half to be sure). 
This is half-way cooked.
Flipped...
6. While your balls are baking, begin preparing the sauce. In a saucepan, melt your stick of butter; then add the buffalo sauce. Mix thoroughly.
Cooked all the way through...
7. Spread about 1/3 of the buffalo sauce on the bottom of a crockpot and turn it on low. When the meatballs are done, transfer to crock pot. Pour the remaining sauce on top. 
Everything should be hot so you can go ahead and try one now; the crock will just help keep them warm as you snack all afternoon ;) Try serving with celery sticks and ranch dressing- yum!! 

In the crockpot with sauce!

ENJOY!