Thursday, June 13, 2013

Lemon Bars

Summer is the perfect time for bright, citrus desserts. These lemon bars are light and luscious at the same time. Super easy to throw together and a wonderful addition to any dessert bar. 

LEMON BARS

What you need for the lemon bars:
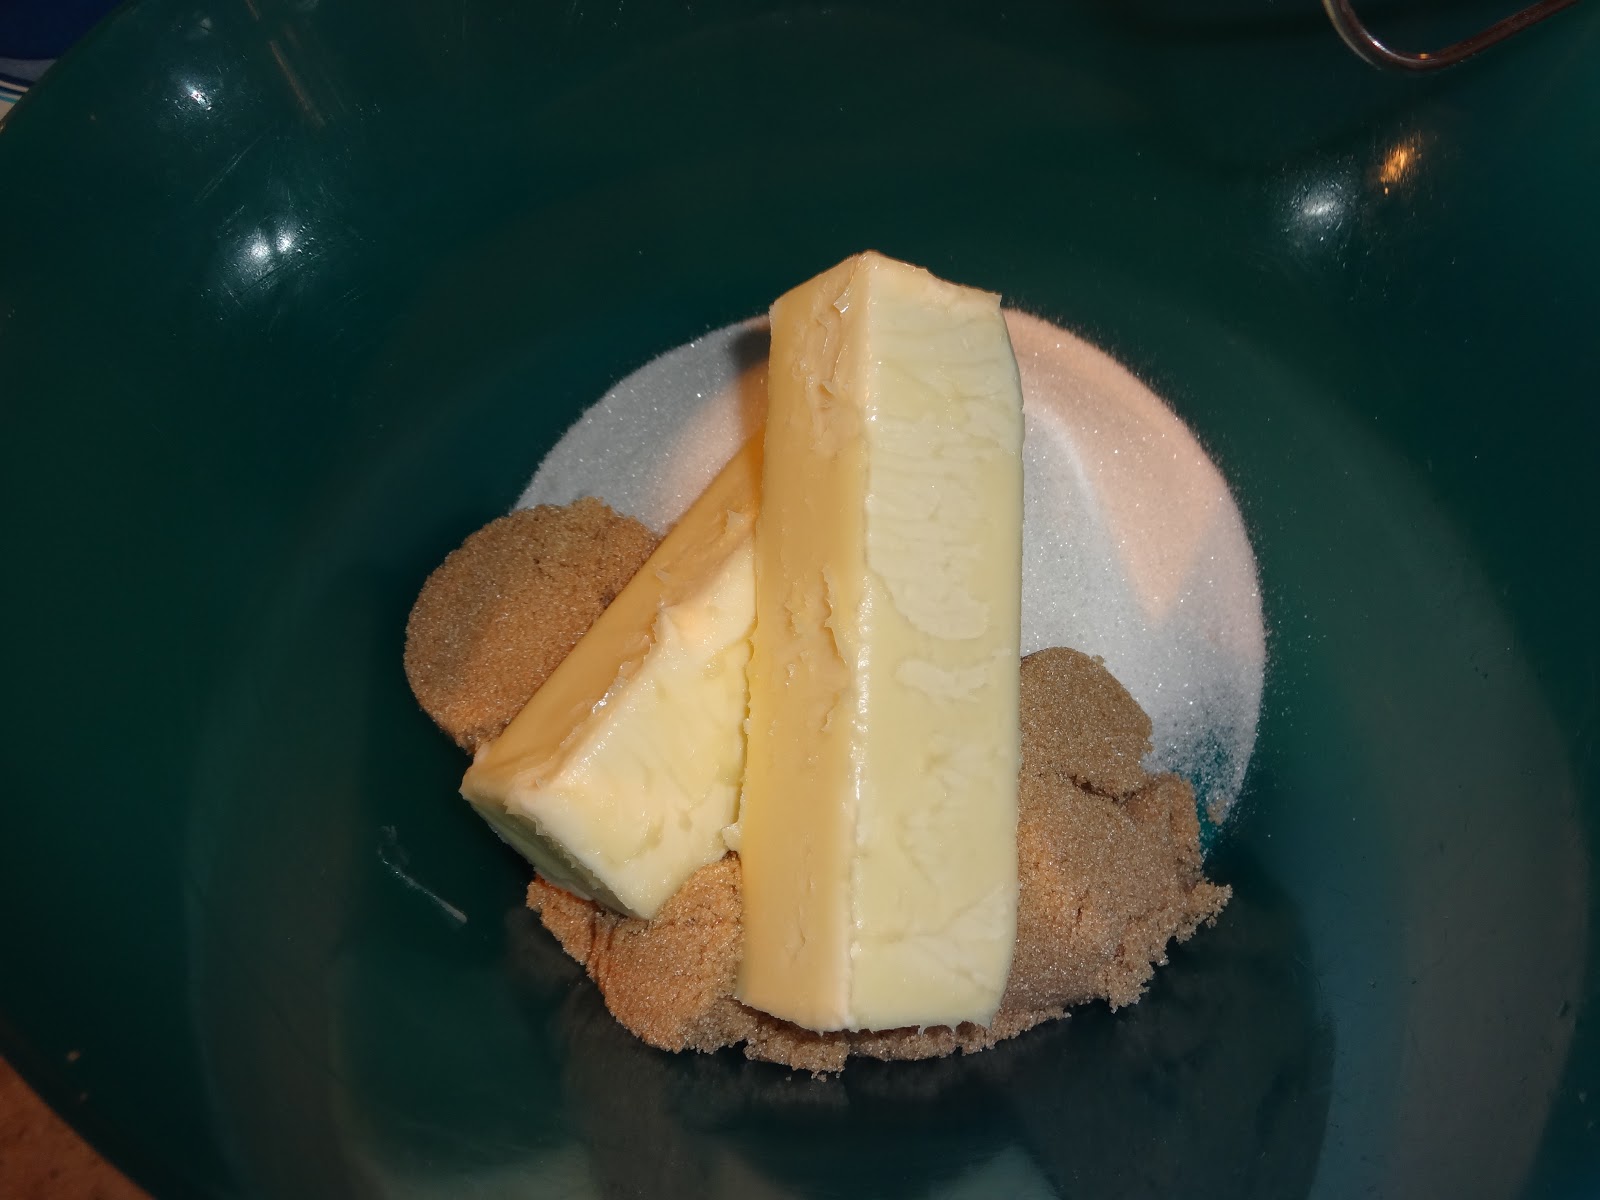
Crust:
2 cups all purpose flour
1 cup powdered sugar
2 sticks of unsalted butter (room temperature)
1/4 teaspoon kosher salt
Filling:
4 eggs
2 cups granulated sugar
6 tablespoons fresh squeezed lemon juice (about 2 large lemons)
Zest of one large lemon
6 tablespoons all purpose flour

To make the lemon bars:
1. Start by preheating your oven to 350 degrees F.
2. Grease or butter a 9x13 pan.
3. Mix the flour, powdered sugar and salt for the crust in a bowl. Using a fork or pastry cutter, cut in the butter until mixture resembles coarse crumbs.
 4. Pour crumble mixture into prepared pan and press into bottom. You might want to put some butter or Crisco on your fingers to prevent the flour from clumping on your finger tips. I swear this is the most tedious part of the recipe and is well worth the effort! Just keep pressing until a solid crust is formed.
5. Bake for 20 minutes in your 350 degree oven.
6. Meanwhile, prepare your filling. Zest and juice your lemons (careful to remove any seeds) into a large bowl.
7. Add the remaining filling ingredients (sugar, flour, eggs) to the bowl and beat on medium for about one minute.
8. When crust comes out of the oven, pour the lemon mixture on top and place back in the oven for another 25-30 minutes until edges are golden brown.
9. Let cool for an hour then loosen the edges from the pan and transfer to a wire rack or cutting board. 
10. Let cool another few hours. Cut into bars and serve or place in the refrigerator.
ENJOY!

PS. Teddy was a bit distraught yesterday as we had to move some of his toys and furniture around...once his house was back where it belonged, he wouldn't leave it. Had to claim his territory I guess...Here's a pic of him just hanging out :)

Monday, June 3, 2013

Double Dark Chocolate Cupcakes with Peanut Butter Frosting

Last week I saw an image of a cupcake on one of my friends' Facebook walls. They said it was a dark chocolate cupcake. I've had chocolate cake, I've had devils food cake but I haven't had or made a dark chocolate cake. So of course, I decided I had to try! Over the past few weeks, my go-to for cupcakes has been a boxed cake mix with an added package of instant pudding. I swear you get the most moist, rich, decadent cupcake by doing this. Why switch up a good thing? I was on a hunt to find a dark chocolate cake mix and dark chocolate instant pudding. To my surprise, I was in luck on both accounts! And who doesn't love the combination of chocolate and peanut butter? That made the frosting part pretty easy...just had to find the right consistency and I promise I nailed that one, too. Make these cupcakes and you're sure to please any crowd!!

DOUBLE DARK CHOCOLATE FUDGE CUPCAKES with PEANUT BUTTER FROSTING (and filling!)

What you need for the cupcakes:
1 package of Duncan Hines Dark Chocolate Fudge Cake mix 
1 package of Hershey's Special Dark Instant Pudding (4 oz)
4 eggs (3 called for in the cake mix +1 more) 
Water and oil called for in cake mix


What you need for the frosting:
1.5 cup powdered sugar
1.5 cup peanut butter
1.5 teaspoon vanilla extract
1/2 cup heavy cream
1/4 teaspoon kosher salt
1 stick of butter (room temperature)

To make the cupcakes:
1. Preheat your oven to 350 degrees F.
2. Line cupcake tins with liners. 
3. Mix together the contents of your cake mix, instant pudding mix, eggs, water and oil. Beat at low speed until combined, about 2 minutes. 
4. Bump speed up to medium on your mix and continue beating for another 3-4 minutes. Don't skimp on the beating, this will make your batter light and fluffy and in turn, makes for a delicious cupcake!!
5. Fill liners about 2/3 of the way and bake 20-24 minutes until toothpick inserted in the middle comes out clean. Let cool on wire rack.

To make the frosting:
1. This one is easy- put all the frosting ingredients in a bowl and beat until well combined. I added about another 1/2 cup of powdered sugar at the end because I wanted the consistency to be a bit thicker. 

Put it all together:
1. Once your cupcakes are cool, use your cupcake corer (or a knife if you don't have one) to cut out a small circle from the center of the cupcake. Save these pieces for later.
2. Fill your frosting decorator tool (bag or injector) with peanut butter frosting and fill the center hole with frosting. 
3. Take the cupcake pieces you had removed from the center and break them in half. Place the top portion back onto the cupcake (on top of the filled center).
4. Refill your frosting decorator tool and frost the tops of the cupcakes.


ENJOY!!

Friday, May 24, 2013

Mock Mashed Potatoes

Hello! I've got a fun surprise recipe for all of you today! Mashed potatoes are always a big hit with almost any crowd. Garlic, cheese, butter...everything that makes you feel all warm and gooey on the inside! Well, here's a little twist on traditional mashed potatoes that will have you quite surprised! I have made this recipe a couple of times now and been really happy with the results. I know the idea of mashed cauliflower seems strange but trust me, the texture is quite similar, the flavor is there and they're super healthy!! Go ahead and eat the entire batch and you don't have to feel guilty! Give these a try and let me know what you think.

MOCK MASHED POTATOES (MASHED CAULIFLOWER)

What you need for the mashed cauliflower:
1 medium head of cauliflower
1 tablespoon of cream cheese
1/4 cup grated cheddar cheese
1/4 cup grated parmesan cheese
1 clove minced garlic
1/4 teaspoon coarse salt
2 tablespoons unsalted butter

To make the mashed cauliflower:
1. Bring a large stock pot of water to a boil.
2. While your water is boiling, clean and cut up your cauliflower.
3. Pour into boiling water and let steam for 6-8 minutes until soft.
4. While cauliflower is cooking, mix together the remaining ingredients in a bowl and then transfer to a food processor.
5. Once cauliflower is cooked, drain well and pat dry with papertowels until excess water is removed. 
6. Pour about half of your cooked cauliflower into the food processor and pulse until combined. You may have to mix it up with a spoon, too, to incorporate the cheesy ingredients you added first. Once mixed, add the rest of the cauliflower and pulse until blended.
7. Top with fresh chives, parsley and or black pepper.
Yummy! Tastes just like mashed potatoes!


ENJOY!

Sunday, May 12, 2013

Spring Lemon Cookies

Good Day Everyone! I apologize for the delay in posting...I can't believe it's been almost a month! Lots of travel have kept me away from actually blogging the recipes but believe me, I've still been baking! I shared these fun, fruity cookies with some lovely ladies last weekend. We went up to Wisconsin to visit Danny's grandma last weekend and celebrate Mother's Day. The luscious lemon frosting on these sugar cookies are sure to be snatched right up! And they're easy-peasy to whip together so get busy!!
The lovely ladies at the botanical gardens in Milwaukee

LEMON FROSTED SUGAR COOKIES

What you need for the cookies:
1 package Pillsbury refrigerated sugar cookie dough
Icing- 
2 cups powdered sugar
1 lemon, zested and juiced
1 teaspoon water
1 teaspoon lemonade (you can just use water if you don't have this on hand)

To make the cookies:
1. Preheat your oven to 350°F and line 2 baking sheets with parchment paper.

2. I cut the roll of dough in half to make it easier to work with. Sprinkle a clean work surface with flour and dust your rolling pin with flour as well.
3. Roll out 1/2 of the dough to about 1/4″ thickness. 3
4. Using a fun-shaped cookie cutter (I used a flower), cut 12 cookies and place them on the first baking sheet. 

5. Bake for 9-11 minutes and then place on a cooling rack to cool. 
6. Repeat with the second half of the dough.
7. While the cookies are baking or cooling, prepare your icing by mixing the powdered sugar with the lemon juice, water and lemonade. (I mixed in some yellow food coloring to make them a little more springy.)

8. When cookies are cool, spread icing on top of cookies.

ENJOY!!

Wednesday, April 17, 2013

Oatmeal Caramel Butterscotch Cookies

I know, I know, just throw in the kitchen sink right? These cookies do have what seems like quite a few ingredients but I swear they're SO yummy!! For some reason I'm on a huge butterscotch kick right now so rather than continuing to eat all the chips out of the bag, I decided it was time I use some in a recipe! The caramel was my twist on the classic Oatmeal Scotchies recipe and I think it really works! I shared these with some friends over the weekend and they were a huge crowd pleaser so try whipping these up for your next pitch in.

OATMEAL CARAMEL BUTTERSCOTCH COOKIES

What you need for the cookies:
2 sticks unsalted butter, softened
3/4 granulated sugar
3/4 brown sugar, packed
2 eggs, room temperature
1 1/2 teaspoon of pure vanilla extract
1/4 cup prepared caramel topping (I used Hershey's from a jar)
2 cups all purpose flour
1 cup quick cooking oats
1 teaspoon coarse salt
1 teaspoon baking soda
1 bag butterscotch chips (I used Nestle brand)

To make the cookies:
1. Preheat your oven to 350 degrees F. Line a baking sheet with parchment paper.
2. Beat your butter with the sugar until light and fluffy, about 2-3 minutes. Add in your eggs, one at a time and beat until well combined. Mix in the vanilla extract and prepared caramel sauce.

3. In a separate bowl, mix your flour, salt, baking soda and oats. 
4. Slowly add the flour mixture to your wet ingredients and mix until well combined. I did this in three batches. Finally, stir in the butterscotch chips. 

5. Place 1 inch balls of cookie dough on your prepared baking sheet and bake 10-12 minutes until edges are golden brown. Let cool on a wire rack.


Makes about 3 dozen cookies.

ENJOY!!

Saturday, April 6, 2013

Crunch Chocolate Peanut Butter Cups

Time for another yummy no-bake recipe! 
 
CRUNCHY CHOCOLATE PEANUT BUTTER CUPS

What you need for the PB Cups:
1/2 cup butter
1 1/2 cup peanut butter
3/4 cup graham cracker crumbs
3/4 cup Rice Krispie
1/2 cup powdered sugar
1 1/2 cup milk chocolate bark (this is 6 large squares or half of a package) chopped into pieces

1 Tablespoon shortening


To make the PB Cups:
1. Line a mini muffin tin with papers (you could also use a regular size tin if you want bigger portions).
2. In a microwave safe bowl, melt your butter & peanut butter together at 30 second intervals and stir until smooth.  (This took a total of about a minute for me)


3. Add the graham cracker crumbs, Rice Krispies and powdered sugar and mix until combined.

4. Distribute the mixture evenly in the prepared muffin cups. Pop in the fridge for at least 15 minutes to set up the PB layer.(I had to do this in batches because I only have two mini muffin tins.)
5. After the peanut butter has chilled, combine the chocolate and shortening in a microwave safe bowl and heat in 30 second intervals until it is smooth. I then transferred mine over to a pourable Pyrex measuring cup and poured chocolate on top of each cup.  

6. Finally, pop them back in the fridge until firm, at least 30 minutes. 
Keep them stored in a covered container in the fridge for up to two weeks.  
This made about 52 mini cups; it would probably make about 20 large cups.


ENJOY!