Wednesday, December 25, 2013

Peppermint Bark

MERRY CHRISTMAS! Here's another simple Christmas recipe that you can whip up this morning for your festivities tonight! Everyone loves a good bark and this one has a fun twist using Christmas kisses from Hershey's.


PEPPERMINT BARK

What you need for the peppermint bark:
1 package milk chocolate almond bark (I only used about 3/4 of the package because I don't like my bark too thick)
1 package Hershey's Candycane Kisses
3 squares of white chocolate almond bark (add this to the candy cane kisses)
2 Tablespoons Crisco
4-6 candy canes, crushed 

To make the peppermint bark:
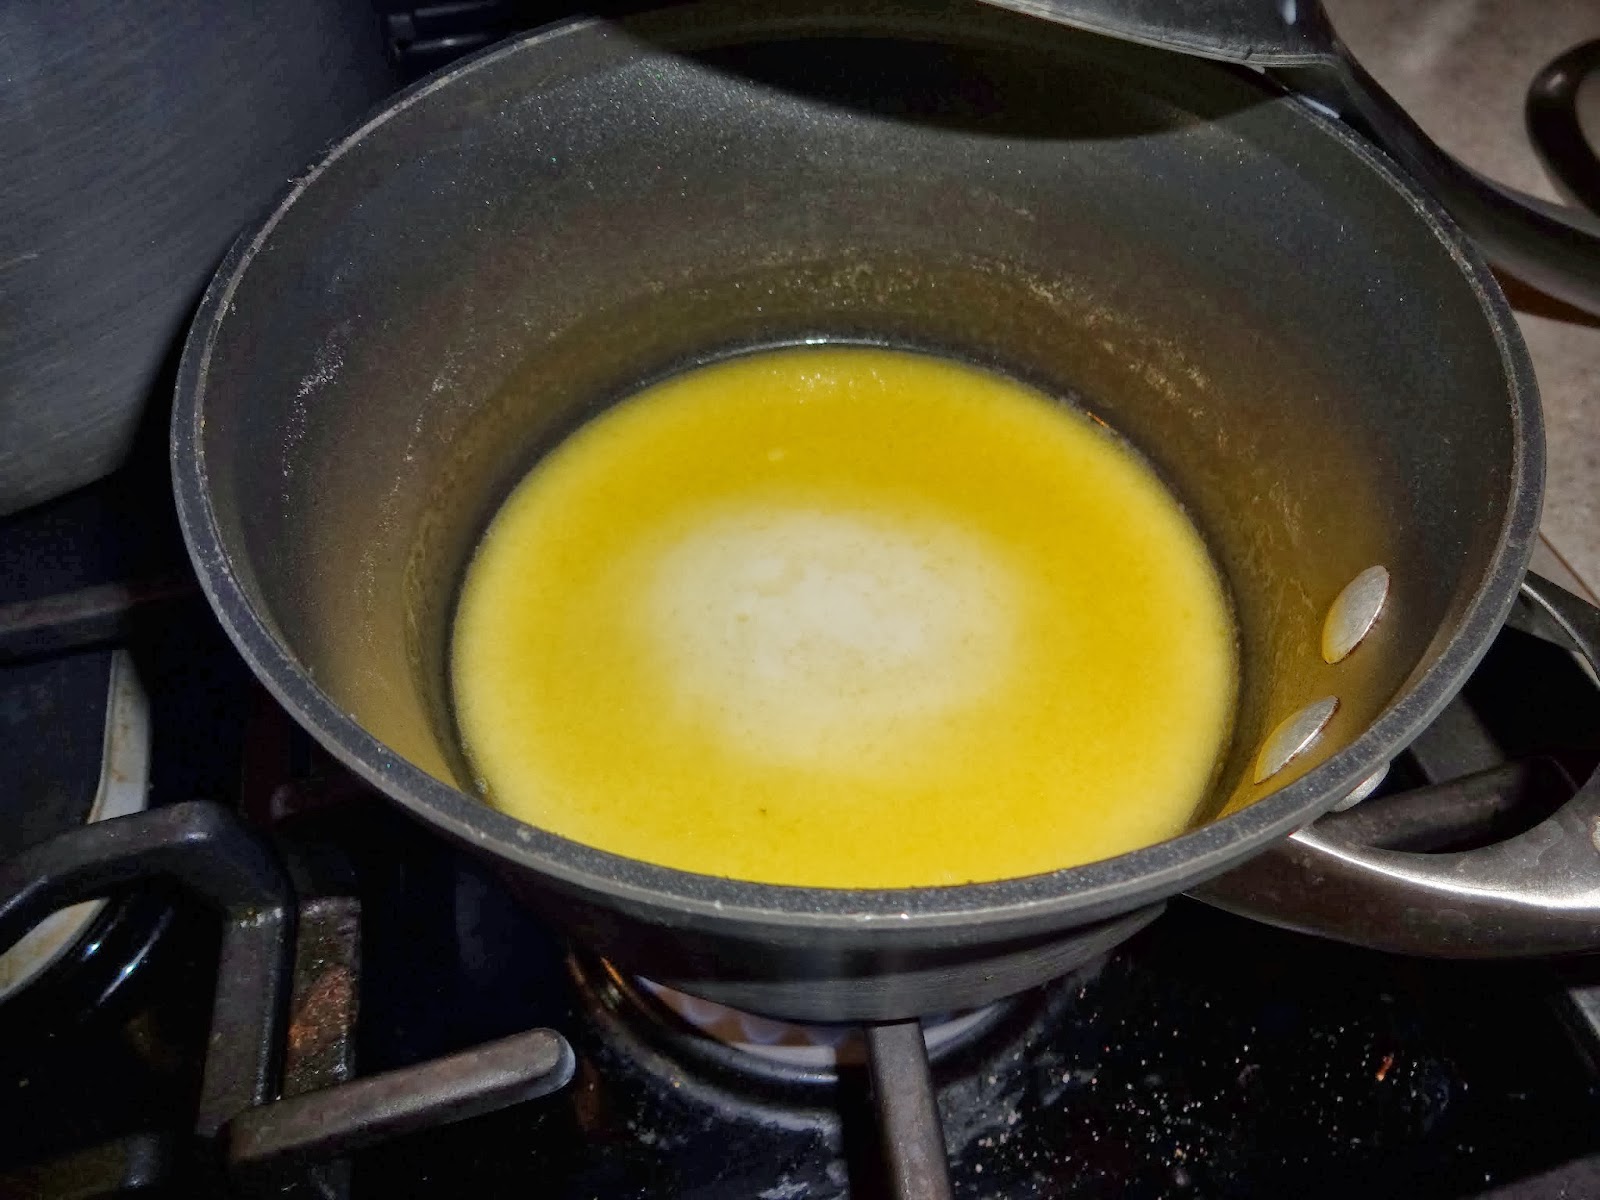
1. Chop your milk chocolate almond bark into chunks and microwave with 1 T Crisco in microwave safe dish for 1-2 minutes, stirring every 30 seconds.

2. Line a large baking sheet with parchment paper.
3. Pour melted chocolate on baking sheet and spread with the back of a spoon to make an even coat.
4. Place in the fridge or outside for at least 20 minutes to harden.
5. Meanwhile, open your candy kisses (this is a tedious job but put on some Christmas tunes and you'll be done in no time!)


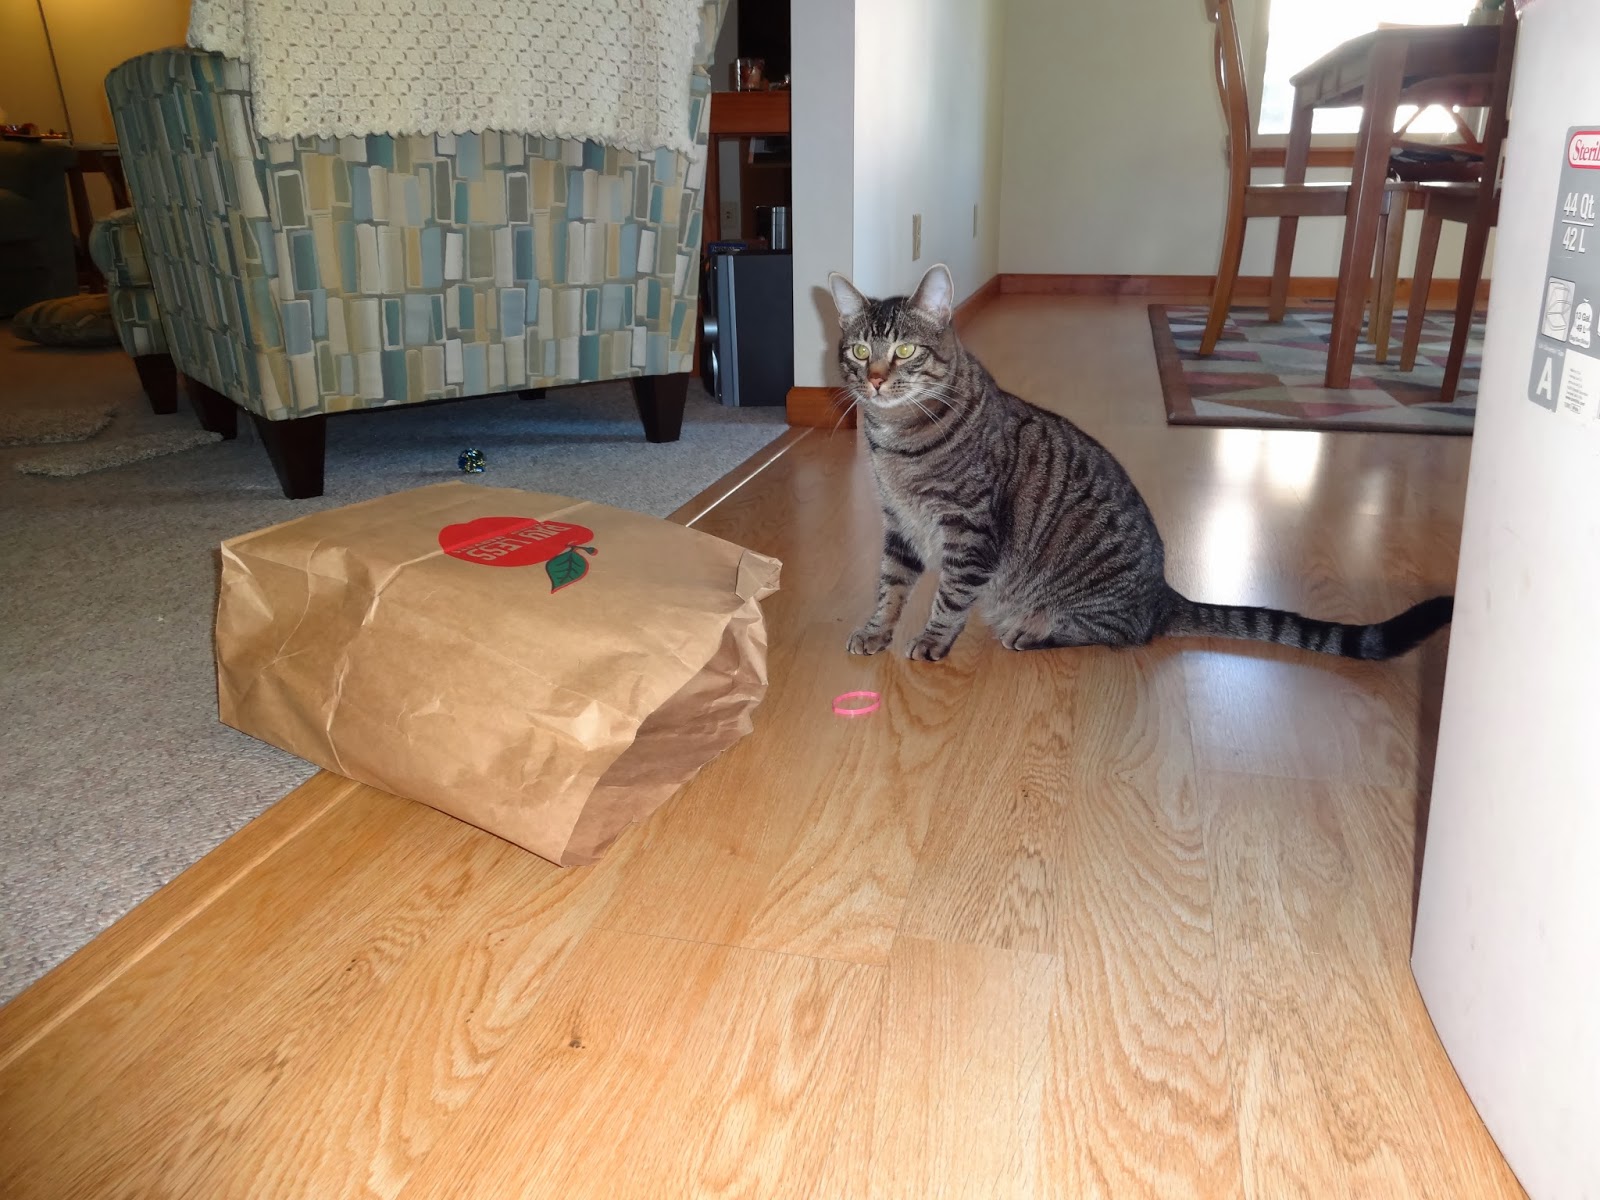
Here's a fun pic of Teddy hanging out while I opened the candies!
6. Place the 3 squares of white chocolate bark in the same microwaveable container as the kisses and add the remaining T of Crisco. Melt in microwave for about 2 minutes, stirring every 30 seconds.
7. Spread the melted kisses over your hardened milk chocolate and smooth out. Gently press your crushed candy canes on top of the melted chocolate. Place back in the fridge or a cool place to harden completely- about an hour. 
8. Break into pieces- this is the fun part- they don't need to be neat or even! Serve with a cup of hot cocoa or milk- yum!!

ENJOY
Sorry, the only picture I have of the bark as one piece was a joint picture with this ornament I made. You get the idea though!
All broken up!

Sunday, December 22, 2013

Cinnamon and Sugar Nuts

Hi Everyone!! Hope you're all getting into the holiday spirit. This recipe is an easy, tasty and fun one to share with family and friends over the next few days. Plus, if you serve them up in little baggies they'll last for at least a week and you can enjoy them for a few days (if you can get them to last that long!) Since they're prepared in a crock pot, you can get these going while you work on other recipes...they take a little supervision but nothing extraordinary so you can definitely multitask- a necessary thing when baking in my household!!

MERRY CHRISTMAS EVERYONE!!

CINNAMON AND SUGAR ALMONDS (or whatever kind you want ;) 

What you need for the cinnamon and sugar nuts:
1.5 cups of white sugar
1.5 cups of brown sugar
3 T of ground cinnamon
1/8 teaspoon of salt
1 egg white
1 T vanilla extract
4 cups of almonds or pecans (or two of each)
1/4 cup of water, warmed (to be added at hour 2)

To make the cinnamon and sugar nuts:
1. In a large bowl, mix the sugars, cinnamon and salt together.
2. Whisk the egg white and vanilla extract in a bowl until frothy.
3. Add the almonds to your egg mixture and mix until well coated. This is what will help the cinnamon and sugar adhere to the nuts.
4. Spray your slow cooker with a non-stick cooking spray and add the cinnamon and sugar mixture. Next, add the nuts and mix well until thoroughly coated. 
5. Turn your slow cooker to low and let the nuts go for 3 hours, stirring every 20 minutes. At hour 2, add the 1/4 cup warm water and mix well until all your nuts are evenly coated and glossy looking. This is what prepares the crunchy coating. 
Right after mixing in the water.
6. Line a large baking sheet with parchment paper and spread the almonds on the sheet when they're done cooking. They tend to stick together so try to spread them apart while they're still warm to prevent large clusters. (Although you may want a lot at once- they're SO yummy!)

I made another batch of these a few days later and did 2 cups almonds, 2 cups pecans- they were just as amazing!!

ENJOY!!

Monday, December 9, 2013

Dream Bars

Hello! I hope everyone has recovered from their Thanksgiving comas and are busy, busy with Christmas shopping! I can't believe Christmas is less than a month away!! With this in mind, I'm already dreaming up my goodie wishlist for this year! (Haha, no pun intended!) Anyway, these bars have been a favorite in my husband's business office and they're SO easy that I'm definitely adding them to my repertoire of Christmas cookies this year. I'm sharing them now in case you need a quick and easy sweet treat in between all of your shopping. I promise, you'll want to bookmark this recipe!

DREAM BARS

What you need for the dream bars:
2 cups graham cracker crumbs (about 20 sheets)
1/2 cup butter, melted
1 tablespoon sugar
1 can (14 oz) sweetened condensed milk
1 cup semi sweet chocolate chips*
1 cup butterscotch chips*
1 cup flaked coconut (sweetened)
1 cup nuts (optional- I didn't use these)
* You can really use any type of chips you like...almost any topping works on this recipe as long as they get nice and gooey!

To make the dream bars:
1. Heat your oven to 350 degrees F.
2. Line a 9x13 pan with parchment paper, leave side overhang for easy removal. Spray parchment paper with non-stick spray. 
3. Mix your graham cracker crumbs, melted butter and sugar with a fork until coated. Press evenly into bottom of lined pan.
4. Spread chocolate chips, butterscotch chips and coconut evenly over the top of the crust.
5. Pour sweetened condensed milk evenly on top of the chips and coconut.

6. Bake for 25-30 minutes in preheated oven. Let cool in pan for 30 minutes. 
7. Remove from pan using parchment paper; place on a large cutting board and cut into even bars.
ENJOY!!

Wednesday, November 27, 2013

Pumpkin Cheesecake

Happy Thanksgiving! I thought this recipe would be an appropriate one given the holiday tomorrow. Who doesn't love a good cheesecake? And pumpkin makes everything better- especially this time of year! I actually made this one a few weeks back for Danny's birthday and it was really good! I'm working on a different cheesecake recipe for tomorrow that I'll share later this week, but give this one a whirl for your holiday festivities this season!

What you need for the cheesecake:
Crust
2 cups crushed graham crackers (about 32 squares)
1/2 cup melted butter
Filling
4 packages (8 oz) cream cheese, softened
1.5 cups of sugar
4 large eggs
1 cup canned pumpkin
2 teaspoons pumpkin pie spice (if you don't have it, this consists of 1.5 teaspoons ground cinnamon, 1/2 teaspoon ground nutmeg, 1/2 teaspoon ground ginger, 1/4 teaspoon allspice)
Topping options
Chopped pecans
Whipped cream
Caramel sauce for drizzling
To make the cheesecake: 
1. Heat your oven to 300 degrees F. Wrap the outside bottom and sides of a 9-inch spring form pan with foil. Grease the inside of the pan.
2. Mix your crust ingredients together in a bowl and then press into the bottom of your prepared pan. 
Bake for 8-10 minutes, until golden brown. Set aside and let cool while you prepare the filling.
3. In a large bowl, beat the cream cheese with an electric mixer until smooth. Add in the sugar and beat. One at a time, add each egg, mixing until each is combined.
4. Spoon 3 cups of this mixture into the bottom of your crust and spread evenly.
5. Add the pumpkin and pumpkin pie spice to the remaining mixture still in your bowl. Mix with a spatula or wooden spoon until combined. Spoon this over the plain cream cheese mixture already in the pan.
6. Bake in your preheated oven for one hour and 20 minutes. The center may be a little jiggly but edges should be golden and set. Let cool in the oven for 30 minutes then transfer to the refridgerator for 6 hours (or overnight).
7. Remove from pan and top with pecans, caramel and/or whipped cream.
ENJOY

Sunday, November 10, 2013

GF Chocolate Fudge Cake

Hello! Over the last few months one of my nieces has been struggling with some tummy troubles. In the process, she's gone gluten and mostly dairy free (she can still do eggs). This has made for some baking challenges!! But, it's about time I start a section on the blog for some gluten free recipes as many people have this same allergy. This was my first attempt but the entire cake was eaten so I'm guessing it was pretty tasty!! Have a go and let me know what you think!

GLUTEN FREE FLOURLESS CHOCOLATE FUDGE CAKE

What you need for the fudge cake:
6 ounces chopped semisweet chocolate (I used the Enjoy Life brand since they're dairy free)
1 stick unsalted butter (again, I used Earth Balance for dairy free)
3/4 cup sugar
3 large eggs
1/2 cup cocoa
1/4 teaspoon salt
1/2 teaspoon vanilla extract
Glaze:
4 ounces chopped chocolate
2 tablespoons unsalted butter (again, I used Earth Balance for dairy free)
1 tablespoon cream (I used almond milk for the dairy free)

To make the fudge cake:
1. Preheat the oven to 350 degrees F. Butter and flour a 9 inch cake pan (or spring form pan), then line with parchment paper.
2. Melt your chopped chocolate and butter in the microwave on low, stirring every 30 seconds until smooth (about 2 minutes).
3. Transfer melted chocolate into a bowl and whisk in your cocoa powder and eggs, one at a time, until smooth.

4. Pour batter into prepared pan and bake for 25 minutes until the center of the cake is just firm to the touch.
5. To make the glaze, melt your butter in a sauce pan on medium heat. Add chopped chocolate and almond milk. Mix until melted and smooth.

6. When your cake and glaze have cooled, spread the chocolate sauce on top of the cake and serve. I'm sorry, I forgot to get a picture of the final product!

ENJOY!!

ps. Here's some pics of Ted Ted playing while I baked!


Monday, October 21, 2013

Chocolate Nutella Cookie Cups

Hello! Here's a fun recipe that I made a few weeks ago. These little cookie cups are not super easy to make (probably because I don't have non-stick mini muffin tins) but boy oh boy are they tasty! And who doesn't love Nutella? It's all the rage these days so making it into frosting has to be one of the best ideas yet! They were a huge hit at the office and this Christmas I'm going to ask for some non-stick tins that will make this recipe even easier!

CHOCOLATE COOKIE CUPS WITH NUTELLA BUTTER CREAM

What you need for the cookie cups:
 2 and 1/2 sticks unsalted butter
2 cups of sugar
2 large eggs
1 tablespoon vanilla extract
3/4 cup Dutch process cocoa
2 cups of flour
1 teaspoon baking soda
1/2 teaspoon salt
What you need for the butter cream:
1 stick of unsalted butter, at room temperature
1 cup powdered sugar
1/2 cup Nutella
2 tablespoons heavy cream
1 teaspoon vanilla extract

To make the chocolate cookie cups with butter cream:
1. In a large bowl, cream together the butter and sugar with a mixer.
2. Add the eggs and vanilla to the sugar mixture and cream until combined.
3. In another bowl mix the flour, cocoa, baking soda and salt.
4. Add the dry ingredients to the wet ingredients and continue mixing until combined.
5. Roll the dough into a ball and refrigerate until firm, about 20-30 minutes.
6. While the dough is chilling, grease your mini-muffin tins. Preheat your oven to 350.
7. Once firm, form small balls of dough and press into the greased muffin tins. Press a small indent in the middle of the cookie to allow for filling after baking.
8. Bake for 12-14 minutes and then allow to cool for about 10 minutes before removing from pan. If needed, while still warm press indent in middle of cookie again to allow for filling.
9. While cookies cool, prepare your butter cream by beating the butter in a bowl until creamy. Slowly add powdered sugar until combined. Then mix in the nutella, heavy cream and vanilla. If frosting is too thick, add more cream one tablespoon at a time; if too thin, add more powdered sugar.
10. Pipe frosting into the cookie cups once cool.


 ENJOY!!

Monday, October 14, 2013

Caramel Apple Cookie Pie

Good Afternoon! Yesterday I got busy in the kitchen with a another festive, fall recipe. Have you seen these new Pillsbury Caramel Apple mixes at the store? I thought it was time to give this a whirl! This is a modified version of the cookie pie recipe that was on the back of the box. They also have cake mixes of this stuff that you could probably do a lot with, too! I actually haven't tasted this yet but it looked pretty great and it smelled awesome after it came out of the oven!! Yay for October baking!!

CARAMEL APPLE COOKIE PIE

What you need to make the pie:
1 package Pillsbury Caramel Apple Flavored Cookie Mix
1/4 cup vegetable oil
1 large egg
2 tablespoons water
2 cups chopped tart apples (I used Granny Smith)
2 heaping tablespoons packed brown sugar
1 tablespoon instant oats
1 teaspoon ground cinnamon
Optional:
1 tablespoon melted butter mixed with 2 tablespoons of brown sugar
1/3 cup Pillsbury Creamy Supreme Caramel Apple Frosting

To make the pie:
1. Heat your oven to 375 degrees F. 
2. Grease a 9 inch pie plate with non-stick cooking spray or Crisco.
3. Stir cookie mix with oil, egg and water in a large bowl until combined. Divide the dough in half.
 4. Press one half of the cookie dough into the bottom of the greased pie plate.
5. In a small bowl, mix your apples with the brown sugar, oats and cinnamon.
6. Flatten the remaining piece of dough on a sheet of wax paper to the same size as your 9 inch pie plate. (I just put the wax paper on top of the dough already pushed in the pie plate to get a similar size.)
 7. Spread the apple mixture on the base layer of the cookie with about 1/3inch remaining on the sides.
8. Invert your second, round piece of cookie dough on top of the apple mixture and seal the edges of the cookies together. Cut several slits in the top of the dough.
9. I then topped the cookie with the brown sugar/butter mixture in small drops all over.
10. Bake in preheated oven for 25-30 minutes until edges are golden brown.
11. Remove from oven and let cool for 15 minutes.

12. In a small ziploc bag, place about 1/3 cup of the frosting and microwave for 7-10 seconds. Cut a small opening in the corner of the bag and drizzle frosting on the top of the cookie.

14. Cut and ENJOY!!